Email: [email protected]

Best Nail Gel and Ink Combinations for Flawless Nail Printer Results
#NailPrinterGelGuide #NailPrinterInkCombo #PrintOnNails #NailArtPrinterTips #NailGelSet #NailInkCartridge #BestNailPrinterSetup
6/10/2025
💅 Best Nail Gel and Ink Combinations for Flawless Nail Printer Results
If you've recently purchased or rented a nail printer, you're probably wondering:
How do I get the best print quality and make my ink and gels last longer?
In this guide, we'll walk you through the optimal way to combine gel layers and ink, so your designs come out crisp, vibrant, and long-lasting—without wasting materials.
🧴 Why Gel + Ink Compatibility Matters
A nail printer is only as good as the materials you use with it. If the base isn’t smooth or the print gel isn’t properly cured, your design may:
Blur or smudge
Peel off early
Appear dull or faded
Using the right gel layering system with high-quality ink ensures:
Clean image transfer
Long wear time
Minimal rework or waste
📦 Recommended Gel System (6 Bottles)
At nailsprinter.com, we offer a professional 6-gel set designed specifically for nail printing:
Base Gel – Creates adhesion for the nail surface
White Coating Gel – Brightens the background for strong color payoff
Print Gel – Special formula for ink absorption
Top Gel – Seals the design with glossy protection
Cleaning Gel – Prepares nail before printing
Coating Seal Gel – Adds extra durability and shine
Each bottle supports 700+ uses, making it extremely cost-effective.
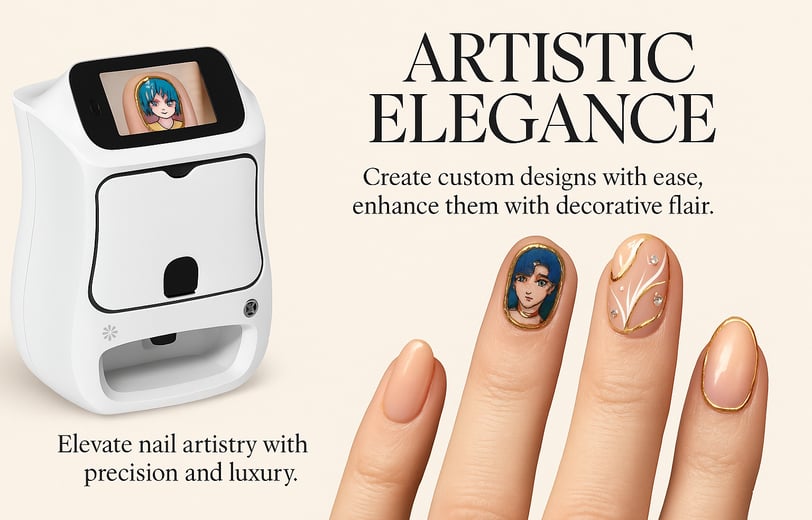
🖨️ Nail Printer Ink Cartridge: What to Know
One ink cartridge prints up to 800 nails
Water-resistant and fast-drying
Works best on white-coated nails
Odor-free and safe for daily use
Store in a cool, dry place after use
💡 Pro tip: Avoid printing directly on transparent or dark-colored gels—it reduces vibrancy and sharpness.
🧪 Best Practice: Step-by-Step Application Flow
Here’s how to get flawless results every time:
Apply Base Gel, cure under UV/LED lamp (30s–60s)
Apply White Coating Gel, cure
Apply Print Gel, cure
Print your design using nail printer
Cure again (optional quick pass to “lock in” ink)
Apply Top Gel, cure
(Optional) Use Coating Seal Gel for enhanced durability
🔁 How to Maximize Usage & Save Materials
Use only 1–2 thin layers of gel per step
Store bottles upright and tightly closed
Print multiple nails at once to avoid curing delays
Clean nozzles and lamp area weekly
This will help you avoid reprints, smudging, and extra gel waste.
✅ Final Thoughts
For professional-looking nails that wow your customers and stay chip-free, it's all about the right material stack.
✔ The 6-gel system = smooth surface + proper absorption
✔ The printer ink = vivid, fast-drying, consistent
✔ Together, they help you print faster, cleaner, and more profitably
🎯 Ready to upgrade your printing results?
Visit nailsprinter.com to shop our full set of eco-friendly nail gels and long-lasting ink cartridges. Designed by pros, for pros.